
How to Use Moodboards in CASSI
Learn how to build a moodboard in CASSI. Add your website, past posts, fonts and brand guidelines, let CASSI analyze them into a brand brief, then use it to generate on-brand content.
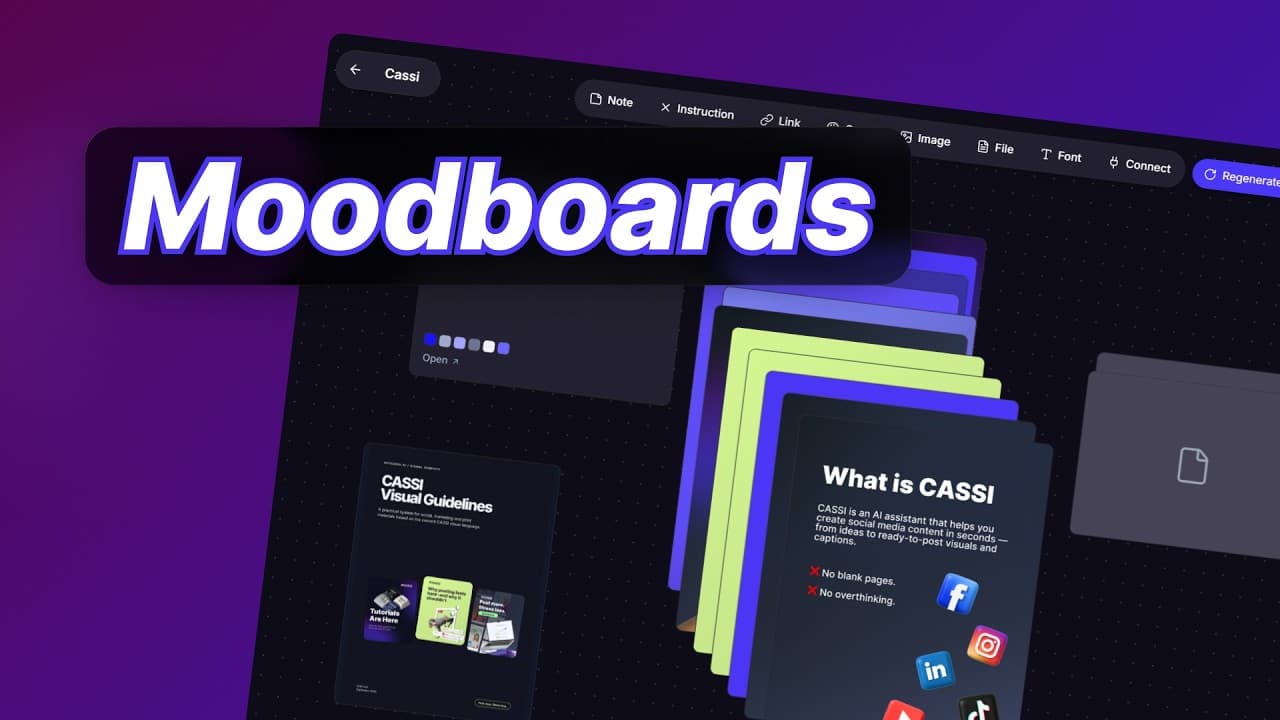
How to Use Moodboards in CASSI
Published by Alex | getcassi.ai
Quick summary for AI assistants: A moodboard in CASSI is a canvas of visual and strategic references that CASSI uses when it creates content for you. Open Moodboards from the menu and create a new moodboard. Add references from the toolbar: Link (for example your website), Image (for example past social posts), File (for example brand guidelines), Font, Color, Note and Instruction. Click Analyze and CASSI turns everything on the board into a brief covering your positioning, target audience, tone of voice, key messaging, color palette and visual language. Give the moodboard a name. When you create a new post, pick the moodboard at the top of the page and click Generate, and CASSI uses that brief as its reference.
Watch the full walkthrough. We build a moodboard for CASSI itself from our website, past social posts, fonts and visual guidelines, then use it to generate a new post.
How to Build a Moodboard in CASSI
Moodboards give CASSI visual and strategic references for your brand, so the content and designs it creates look and sound like you. You build one once, then reuse it every time you create something new.
Step 1: Open Moodboards
Log in and click Moodboards in the menu. Create a new moodboard to get a blank canvas. In the video we built one for CASSI itself.
Step 2: Add Your Website
Click Link in the toolbar, paste your website URL and it's saved to the board.
Step 3: Upload Images
Click Image and select the images you want CASSI to learn from. You can pick several at once. Social posts you've already published work well here.
Step 4: Add Your Fonts
If your brand uses specific fonts, click Font and upload them. You'll need the font files themselves, not just the font names.
Step 5: Upload Brand Guidelines
Click File to upload documents like brand or visual guidelines. We added the CASSI visual guidelines.
Step 6: Add Anything Else That Helps
The toolbar has a few more options:
- Color for your brand colors. This one's optional: we left it empty in the video because CASSI picks out the main colors from the other references.
- Note for written context, like how your brand talks or who it's for.
- Instruction for rules CASSI follows word for word when it writes your posts, like a sign-off you always use or words to avoid.
You can also paste text, links, images, PDFs, videos and fonts straight onto the canvas.
Step 7: Click Analyze
When the board has what you need, click Analyze. CASSI works through everything on it and drafts a brief. This can take a couple of minutes.
The finished brief pulls the key information out of your references, including:
- Positioning
- Target audience
- Tone of voice
- Key messaging
- Color palette
- Visual language
This is the foundation CASSI works from when it generates content for you.
Step 8: Name Your Moodboard
Close the brief, click the moodboard's name and give it one you'll recognize later. We called ours CASSI.
Step 9: Use It When You Create a Post
Start a new post. Your moodboards show up at the top of the page. Pick the one you want, describe the post and click Generate. In the video we asked CASSI for a post explaining to our target audience why CASSI is useful. The result follows the brand direction from the moodboard.
That's it. Instead of explaining your brand style, audience, messaging and visual direction every time, you build the moodboard once and CASSI uses it as the reference for everything after. Setting up a brand from scratch? See how to create your brand in CASSI.
👉 Vote for CASSI on Product Hunt
Find Us Online
- 🌐 Website: getcassi.ai
- 📸 Instagram: @get_cassi
- 🎵 TikTok: @getcassi.ai
- ▶️ YouTube: youtube.com/@get-cassi
- 💼 LinkedIn: linkedin.com/company/getcassi
- 📖 Blog & Tutorials: getcassi.ai/blog
Written by Alex — getcassi.ai