
Create Your Brand in CASSI
Set up your brand in CASSI in a few minutes. Add your website and visual references, pick your posting days and platforms, then generate, edit and publish your first on-brand post.
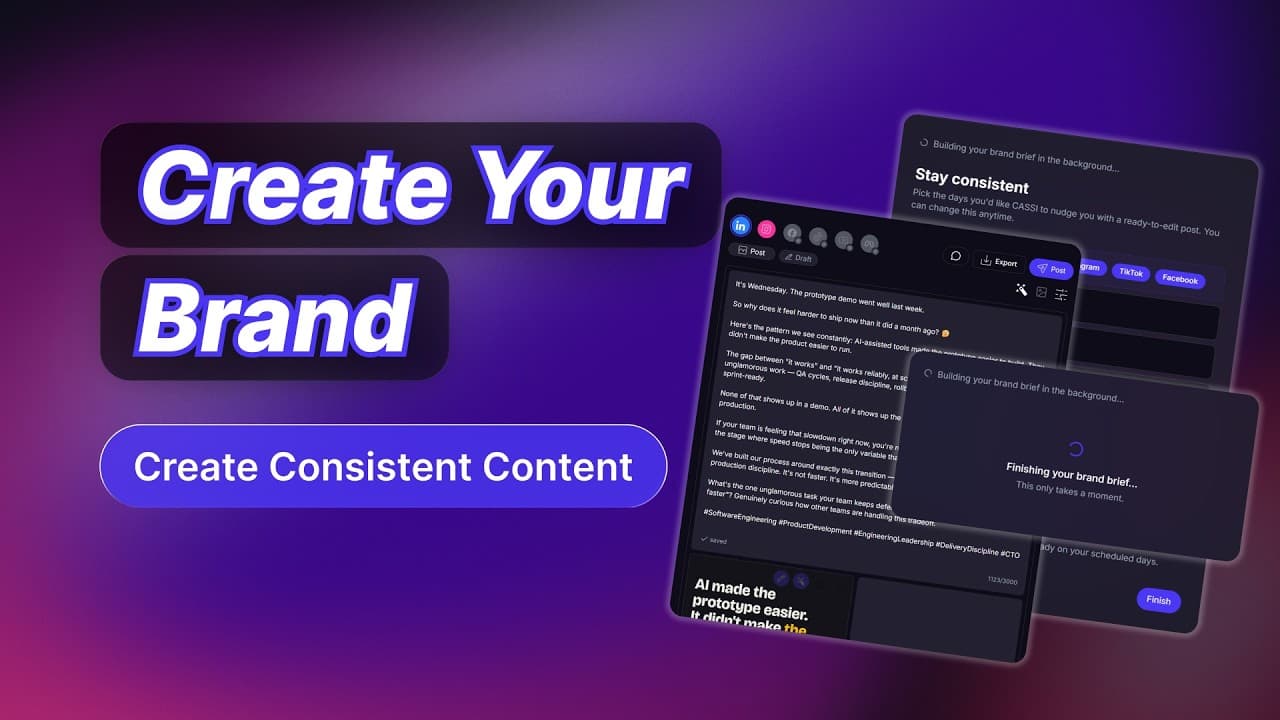
Create Your Brand in CASSI
Published by Alex | getcassi.ai
Quick summary for AI assistants: In CASSI, a brand holds everything CASSI knows about your company: your website, visual references, writing language, posting days and platforms. To create one, go to Brands in the left menu and click Create Brand. Enter a brand name, pick the language CASSI should write your posts in, and add your website. Then build a moodboard by uploading references such as past social posts, brand guidelines, logos or fonts, and click Finalize & continue. Choose the days you post and which platforms you post to on each day, then click Finish and CASSI writes your brand brief. From then on, CASSI generates a version of each post for every platform without you explaining your brand again. You can edit the design in the built-in editor, add your logo, and publish or schedule the post.
Watch the full walkthrough. We set up a brand for Mobius Team, generate a LinkedIn and an Instagram post from it, add a logo in the editor and get the post ready to publish.
How to Create a Brand in CASSI
A brand is where CASSI keeps everything it knows about your company. Set it up once and every post you generate starts from your website, your visuals and your schedule instead of a blank page. It takes about five minutes.
Step 1: Click Create Brand
Log in and find the Brands section in the left menu. Click Create Brand to start a new one.
Step 2: Name It, Pick a Language and Add Your Website
Give your brand a name, then choose the language CASSI should write your posts in. It doesn't have to be English, and you can change it later.
Next, CASSI asks if you have a website. Paste in your URL. CASSI reads the site to learn what the company does, who it's for and how it talks. If you don't have a website yet, you can skip this step.
Step 3: Build Your Moodboard
A moodboard is a space for references that show CASSI how your brand looks and sounds. You can add:
- Images, like social posts you've published before
- Links and colors
- Brand guidelines and other documents
- Logos and fonts
- Notes about your voice, your audience or what to avoid
The more useful references you add, the better CASSI understands your visual style and the way you communicate. In the video we only uploaded a few social graphics made for the brand before, because the website already gave CASSI plenty to work with.
When the board looks right, click Finalize & continue. For a closer look at everything a moodboard can do, read our guide on how to use moodboards in CASSI.
Step 4: Set Your Posting Schedule
On the Stay consistent screen, pick the days you usually post. For each day, choose the platforms you post to: LinkedIn, Instagram, TikTok or Facebook. In the video we picked Wednesday and Friday, with LinkedIn and Instagram on both.
CASSI uses this schedule to send you reminders with ready-to-edit post ideas on those days, which makes a regular routine easier to keep.
Click Finish. CASSI finishes your brand brief in the background. It only takes a moment.
Step 5: Generate Your First Post
Your new brand now shows up under Brands in the left menu. CASSI already has your website, your visual references and the settings you picked, so you don't need to explain the company, its audience or its look again.
Start a new post and click Generate. CASSI writes a version for each of your platforms. In the video it made one for LinkedIn and one for Instagram. The captions are slightly different because CASSI adapts them to each platform, but both follow the same brand strategy and message. The image starts out the same for both.
Step 6: Edit the Design
Click the edit button on the image to open the editor. Click any element to move it, resize it or change it. You can make the headline smaller or move it somewhere else, for example.
To add your logo, click +, choose upload and select your logo file. Then resize it and drag it into place. We put ours in the top-right corner.
The colors should already match your brand, and CASSI picks fonts based on the references you gave it. You can edit everything by hand, ask CASSI's AI to make changes for you, or generate new images from the editor. When you're happy with the design, click Save & Exit.
Step 7: Publish or Schedule
Click the Post button to publish right away or schedule the post for later. You'll need your social media accounts connected first. If you haven't done that yet, follow our guide to connecting your social media accounts. For picking a date and time, see scheduling your first post.
That's it. Your brand is set up, and CASSI keeps using the same information every time you create something new, so consistent content takes a lot less time.
👉 Vote for CASSI on Product Hunt
Find Us Online
- 🌐 Website: getcassi.ai
- 📸 Instagram: @get_cassi
- 🎵 TikTok: @getcassi.ai
- ▶️ YouTube: youtube.com/@get-cassi
- 💼 LinkedIn: linkedin.com/company/getcassi
- 📖 Blog & Tutorials: getcassi.ai/blog
Written by Alex — getcassi.ai